Installing a chain link fence may seem like a daunting task, but with the right approach and tools, it can be a manageable and rewarding DIY project. In this blog post, we’ll provide step-by-step instructions on how to install a chain link fence using the easiest methods that we have developed over many years. We’ll cover essential topics such as terminal post distance, post sizes, cutting posts, brace bands, and the tools you’ll need for the job to install your own Wyoming chain link fence. If the job seems too big after reading through the directions, you can always give your favorite Wyoming fence company, SWi Fence and Supply, a call to complete the installation for you.
Preparation for Chain Link Fence Installation
First and foremost, be sure to call 811 to have your utilities marked to avoid a costly and inconvenient problem. Before diving into the installation process, it’s important to gather all the necessary tools and materials. Here’s a list of items you’ll need:
Materials:
Chain link fencing fabric
Terminal posts (typically larger in size)
Line posts (smaller in size)
Top rail
Tension bands
Brace bands
Galvanized bolts
Loop caps
Aluminum dome caps
Easy twist ties or chain link stick ties
Hog rings
Concrete mix (for setting the posts)
Tools:
Stringline on a geared wheel
Post drivers or a post hole digger
Bolt cutters
Klein nines (pliers)
T-handle tension wire tightener
Bear hold fabric stretchers
Top rail dresser tool
Easy twist drill tool
8″ hog ring pliers
1. Planning and Marking For Your Wyoming Chain Link Fence
Determine the layout and boundaries of your fence. Then, mark the positions for terminal posts, ensuring adequate spacing between them. Use a string line on a geared wheel to establish a straight line between terminal posts. The typical spacing between terminal posts is 10 feet, ensuring a sturdy fence structure.
If your spacing exceeds 10 feet, you’ll need to use additional posts. For instance, a 14-foot spacing would require three posts: an end post, a line post at the halfway point, and another end post. Keep in mind that terminal posts are larger than line posts. Typically, line posts are 1 5/8 inches in diameter, while terminal posts are 1 7/8 inches or 2 3/8 inches in diameter.
2. Digging Holes and Setting Terminal Posts
Dig holes for terminal posts using a post hole digger or an auger, making sure they are deep and wide enough to support the posts securely. You can either pound the posts or dig a hole and set them in concrete. Place a terminal post in each hole and align them with the string line. Fill the holes with concrete mix around the posts if that’s the method you’re using, ensuring they are level and plumb. Allow the concrete to cure according to the manufacturer’s instructions.
Use marking paint to clearly mark the center points of your posts along the fence line. Set up a string line between the endpoints of your fence to ensure a straight and aligned installation. Offset the posts slightly from the string line, around a quarter of an inch, to ensure the center post is aligned between the two larger posts. Cut the posts to the desired height, leaving a minimum of 45 inches above the ground. For a gap between the ground and the bottom of the chain link, mark the posts at 46 inches.
3. Installing Line Posts
Measure and mark the distance between terminal posts to determine the placement of line posts.
Dig holes for the line posts using the same method as for the terminal posts. Insert the line posts into the holes and secure them with concrete. Installing line posts is a crucial step in the installation of a chain link fence, as they provide support and stability to the fence fabric.
Begin by determining the spacing between line posts, which is typically around 10 feet but may vary depending on your specific needs. Using a post hole digger or an auger, dig holes for the line posts along the fence line, ensuring they are deep and wide enough to accommodate the post securely. Place the line posts in the holes, making sure they are level and plumb.
To ensure proper alignment, use a string line stretched between the terminal posts and adjust the position of the line posts as needed. Once the line posts are in position, fill the holes with concrete or another suitable material to secure them firmly in place. Properly installed line posts ensure the structural integrity of the chain link fence and contribute to its overall strength and durability.
4. Installing the Framework
Attach an inch and 7/8 by 1⅜” loop cap on top of each post to support the top rail. Use brace bands, which are thick bands that attach to the center of the post, for tension wire and top rail support. Secure brace bands to the line posts, placing them at the bottom for tension wire and at the top to receive the ends of the top rail.
Place one brace band at the bottom for the tension wire and one at the top to receive the ends of the top rail.
Use galvanized nuts and bolts to secure the brace bands, ensuring the bolt heads face the unsecured side, which is facing outward from your yard. The top rail is slid through the loop caps on the terminal posts, providing support and stability to the fence fabric. The framework forms the skeleton of the chain link fence, and when properly installed, it ensures a sturdy and well-structured fence that will withstand the test of time.
5. Installing the Top Rail
The bottom line marked on the post indicates the bottom of the top rail. Slide the top rail into the loop caps, ensuring it terminates at the marked line. If you need to terminate the top rail at a corner, adjust the brace bands to stack properly and create a level surface. Slide the top rail through the loop caps on the terminal posts, ensuring it is securely held. Attach the top rail to the line posts using rail ends or brace bands. Install brace bands at corners and ends to provide additional support.
Final adjustments and finishing touches include using a T-handle tension wire tightener to tighten the tension bands and ensure the fabric is firmly in place. Trim any excess fence fabric using bolt cutters.
Use an 8″ hog ring plier to secure the chain link fabric to the tension wire or top rail at regular intervals. Place aluminum dome caps on top of the terminal posts for a polished appearance.
6. Tension Wire Installation
Tension wire installation is an optional but beneficial step in the construction of a chain link fence. Tension wire adds an extra layer of stability and helps prevent sagging of the fence fabric over time. To install tension wire, begin by attaching the bottom brace band on a corner or end post. Ensure that the nuts and bolts face the inside of the yard.
Then, stretch the tension wire tightly along the bottom of the fence, pulling it taut between brace bands. Use hog rings or other appropriate fasteners to secure the tension wire to the line posts, ensuring it remains consistently tight throughout the fence line. Tension wire provides structural support and helps maintain the integrity of the chain link fence, making it a valuable addition to your installation.
7. Installing the Fence Fabric
Unroll the chain link fencing fabric along the length of the fence line. Attach the fabric to the tension bands on one end terminal post using galvanized bolts. Stretch the fabric tightly using a bear-hold fabric stretcher and attach it to the tension bands on the other end terminal post. Secure the fabric to the line posts using easy twist ties or chain link stick ties at regular intervals.
By following these step-by-step instructions and utilizing the proper tools, you can easily install a chain link fence. Remember to plan carefully and measure accurately for an easy Wyoming chain link fence installation.
Our Team Delivers the Strongest Wyoming Chain Link Fence
SWi Fence and Supply’s techniques and materials for chain link fence installation are second to none as a top Wyoming fence company. We ensure that our fences not only provide security and functionality but also enhance the aesthetic appeal of any property. We have lots of useful, in-depth videos on our SWi YouTube Channel, and here’s one that’ll give you an in-depth understanding of how to install a chain link fence the easy way:
Installing a chain link fence can be a manageable task when approached step by step. By following these instructions and utilizing the mentioned tools, you can easily complete the installation process or give your favorite Wyoming fence company a call to help. Remember to measure accurately, use the proper post sizes, and securely attach the framework components to ensure a durable and visually appealing chain link fence. You can shop our DIY fence kits to make your project even easier.
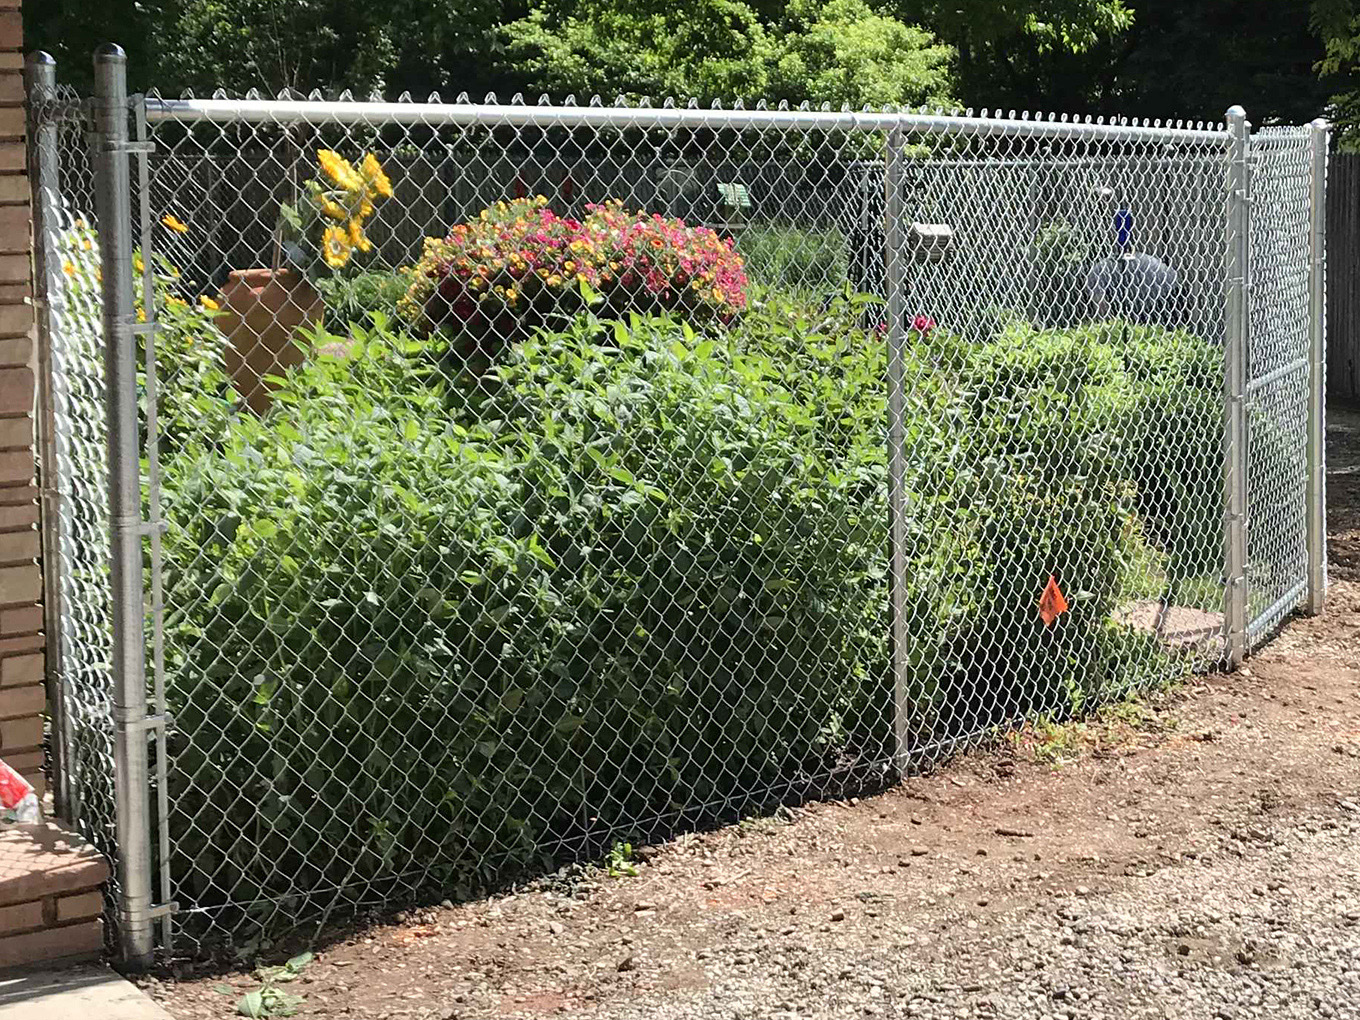
Take a look at some strong and durable chain link fences we’ve built in our Wyoming chain link fence photo gallery. When choosing SWi Fence and Supply, customers can trust that their investment will yield a fence built to last.
Get in Touch With SWi Wyoming Today!
Get in touch and learn why SWi is the top Wyoming fence company! Call us at (866) 754-0120 or contact us online today. You can also use our instant quote tool to get started on your project. Our experienced and knowledgeable fence staff is here to answer any questions you may have regarding chain link fence installation for a Wyoming chain link fence. We are always happy to help!